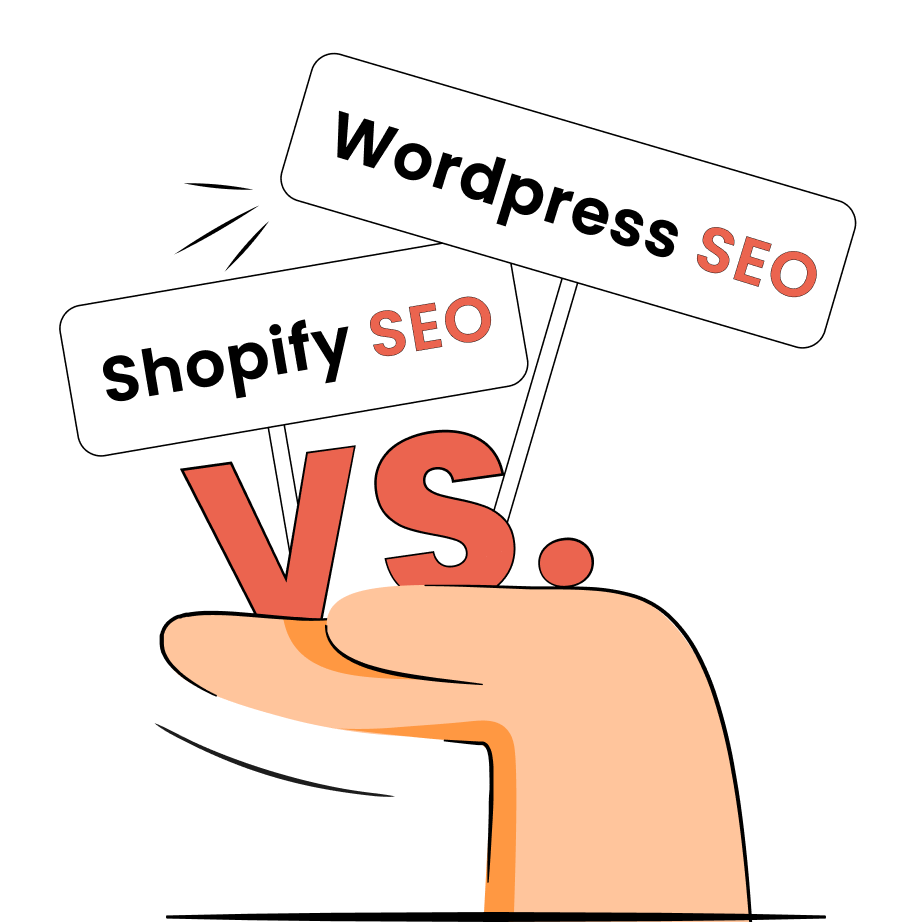
Shopify image optimization is important for even the smallest Shopify stores because they all feature many product and collection images. And according to Web Almanac, images can make up around 50% of the total page weight.
So, unoptimized images can cause unexpected layout shifts and negatively affect the page load time. This can lead to higher bounce rates on both desktop and mobile Shopify websites.
In this guide, we’ll go through the 9 effective Shopify image optimization steps. These optimization methods will help improve your store’s page load time, rank higher in search engines, and potentially increase search engine rankings.
What is image optimization?
Image optimization is the process of adjusting images in a way that keeps them clear but lightweight. This includes making your images the right size and picking the right format and resolution. Proper image optimization helps ensure that your page load time stays fast and images look properly sized on both desktop and mobile devices.
Optimizing images is also one of the main Shopify SEO practices and is crucial to provide a smooth user experience and potentially improve search engine rankings. The process also includes adding or improving text attributes, such as captions, optimized titles, and most notably alt texts.
Why is image optimization important?
Image optimization is important for optimizing your site in terms of speed, SEO, and user experience. Here are the main reasons why it’s essential:
- Faster page load time. Images make up a big chunk of page weight, so optimizing them to smaller sizes can help improve page performance. This is important because even a page load time jump from 1 to 3 seconds could cause a bounce probability to rise drastically.
- Improved SEO. If your page is extremely slow due to unoptimized images, Google can make it rank lower. Ever since 2010, Google has stated that while not critical, speed has become a ranking factor.
- Lower bandwidth usage. Reducing image sizes leads to lower bandwidth usage. It helps save valuable resources instead of having to upgrade your Shopify plan as soon as the limit is reached.
- Improved user experience. Since image optimization is related to better page performance, such as faster load time and no layout shifts, it also contributes to a better user experience.
How to optimize images for Shopify
Follow these 9 Shopify image optimization tips to ensure your images enhance your website performance and search engine ranking efforts instead of hindering them.
1. Compress images
Shopify serves WebP file format when supported by browsers and takes care of your thumbnails. While this is a helpful start, you should always be looking to compress your images further and improve your Shopify store speed.
Shopify doesn’t allow uploading files larger than 20MB. However, aiming for file sizes of 70KB or lower is a good general target, though this may depend on the image quality you’re striving for.
You can reduce the image file size in two ways – manually or automatically. Let’s review both of them.
Option 1: automatic compression (recommended)
The fastest way to compress your images is to use a Shopify bulk compression app. For example, TinyIMG can compress and resize all of your oversized images in a single click.
Simply install the tool, go to the “optimize images” section, and click “Start now” to automatically compress all of your images.

You can view the optimized files and total reductions after the compression is complete.
Marketer's tip: If you place large images on your site and manually adjust their size using source code, you won’t reduce their file size. This can really damage your page load speed. Include large images as pop-ups or even on a separate page that appears when users click on the smaller version shown on your site.
Option 2: manual compression
A manual image compression method is reducing file sizes using Photoshop, Paint, Windows Photo, Mac Preview, or a similar program. This process is about changing the amount of image data available, either by reducing the number of pixels or changing the pixel dimensions of an image using the Image size dialog box. Here’s an example of how it looks like on Windows Photos:

Once you have reduced the number of pixels, there is a range of tools for refocusing the image so it does not appear pixelated. You can find tutorials on manual image compression methods in our image file size reduction guide.
2. Use the right file format
Choosing the right file format for images is important because it helps optimize storage and bandwidth usage. The less space it takes up, the faster your pages can become, which improves the user experience. Here are the main file formats and when you should use them:
- JPEG offers the best overall balance between quality and file size.
- PNG images offer excellent quality and transparent elements, but the files are bigger than JPEG.
- WebP format is what Shopify automatically serves .jpg and .png files in when browsers support it. According to Google developers, WebP files can be up to 26% or 34% smaller than their .jpg or .png equivalents respectively, but the quality is comparable.
- AVIF is another image format that Shopify automatically serves when supported. It helps compress images with less quality loss.
Shopify recommends using JPEG for product images, pages, and blog posts. Meanwhile, PNG should be used for decorative images such as logos, trims, and borders (these should be in your CSS, not HTML, so this shouldn’t have a big impact on page load times).
Shopify also accepts .gif images, but these are very low quality. They can be an option if you want dynamic elements on the page, but overall we suggest staying away from GIFs.
3. Choose the correct image size
Choosing the right size for each image helps ensure that it looks good on both desktop and mobile devices.
The maximum recommended size for Shopify is 5000 x 5000 pixels or up to 20 MB. For square images, the optimal size is 2048 x 2048 pixels. However, the proper dimensions depend on the image type. Here are the file sizes Shopify recommends for the main image types:
| Image type | Recommended dimensions | Recommended file size |
| Product images | 2048 x 2048 | 300KB or smaller |
| Background image | 2560 x 1400 | 20MB |
| Blog image | 1200 x 800 | 3MB |
| Hero image | 1280 x 720 | 10MB |
You can find all the recommendations depending on the image type in our Shopify image size guide.
Shopify also recommends using a Content Delivery Network (CDN) to properly size images and deliver the best file format based on the user’s device. Luckily, Shopify already comes with a CDN, ensuring your image loading time is fast no matter where the user is located.
4. Optimize alt attributes
Alt attributes are what Google uses alongside the title to understand what is shown in an image. It will also use these texts when returning Google image search results.
So, what are alt attributes? These are texts that serve as a replacement for the image, either because it hasn’t loaded yet or for visually impaired internet users. There is an alt tag, which is essential to include for SEO, and an alt title.
Here is a quick rundown of how to optimize image alt texts for Shopify SEO:
- Avoid keyword stuffing – according to Google Search Central, keyword stuffing is considered spamming. This means Google might even penalize you if it thinks you are using the alt tag just to get clicks.
- Include models or serial numbers – searches can sometimes be very specific, so giving this level of detail can help you rank well.
- Write coherently – the alt text should clearly describe what the image displays, for example, “Brown leather jacket with a zip.”
- Don’t write alt texts for decorative images – only include alt text when the image contributes to the content of the page.
As an example, let’s take a look at these two alt texts for the same image below:

- Coherence – the correct version is a descriptive text about the objects in the image whereas the incorrect one is just a bunch of unrelated words.
- Keywords – the correct version includes the keyword naturally whereas the incorrect one stuffs unrelated keywords and could get penalized.
- Accuracy – the correct version mentions that it’s a dress shoe and states its color as well as position, giving more context to the image and helping target more specific searches.
5. Create descriptive image file names
Are all your images titled along the lines of IMG_79865.PNG? That’s not doing your Shopify store any good and it’s about time to start practicing proper image titles.
Why? Because Google takes your image titles into account when trying to decide what keywords your page should rank for.
If you want to optimize your Shopify image titles effectively, avoid random or very long titles. Instead, use the main keyword that describes the image and separate the words using hyphens.
Let’s take a look at a quick example from the Zappos shoe store:

Instead of a random file name, like 61IZXCQwdCL._AC_SR920,736_.jpg, aim for a descriptive title, such as white-women-birkenstock-sandals.jpg.
 Tip: Well-written image titles will not only give a little boost to your target keywords but also help keep your media library clean and organized.
6. Make sure images are responsive
Regardless of what your store specializes in, a part of your audience visits your website using their mobile devices. With Google having a mobile-first approach, you want users to have a seamless experience, and serving responsive images is indispensable.
Ensuring your images adjust to the size of the screen is rather straightforward – you need to use a modern and responsive Shopify theme and it will do the job for you. These themes automatically generate blocks of HTML that instruct browsers to load specific image sizes based on the device.
7. Use original images
Shopify stores can get very heavy on images. That’s why you should try to create every image thoughtfully and make it count. For example, when creating product images, consider taking multiple pictures from different angles, not just the front. This helps ensure that users can get informed about the product before making a purchase.
Answer these questions before you approach a new image:
- Purpose and functionalities – is the image primarily decorative, meant to attract attention? Or is it a functional product image people will use to zoom in and explore the details? Is it meant to showcase the whole product or put emphasis on one specific detail?
- Placement – is it going to be featured as a hero image on my homepage? Or is it one of many collection images?
- Equipment – to create a unique image, do I need reflectors, backgrounds, and lights to create a proper image for this purpose? If so, should I hire a professional product photographer or can I handle it myself?
Based on your answers, decide on the proportions, angles, and other image characteristics. As a matter of fact, we've created a nice guide on taking great product images with your smartphone – make sure to follow it and see the results.
8. Create image sitemaps
This is a more technical step, but it is important if you use a lot of carousels, image pop-ups, or galleries on your site. The problem is that while they elevate your customer experience, images shown in this way can be easily missed by Google.
A good solution for this is to create a separate sitemap just for your images. Sitemaps show Google what is on your site and ensure every part of your site is crawled – in other words, it will all count towards your SEO effort.
Shopify generates a sitemap.xml file for all stores automatically. However, you can use this guide by Google to create a special site map just for your images. Don’t forget to include descriptive tags in your HTML.
Then, you can submit your sitemap to Google through Google Search Console. All you have to do is:
- Log in to Search Console or sign up and verify your site ownership.
- On the left menu, click on Sitemaps.
- Enter the image sitemap URL and click Submit.

That’s it – if there are no errors, Google will show the “Success” status.
9. Test images and make adjustments
Like any solution, testing is going to be key. Here, the situation is a little complex because you should be thinking about multiple factors when testing image optimization.
You need to think carefully about page load speed vs conversions on your page because improving one might harm the other. You have to find balance in the number of your images to satisfy your shoppers while maintaining good page load speed.
For testing, think clearly about your priorities and goals. Which of these factors are most important to you – page load speed and better performance on SERPs, or higher overall conversions on your website? Then, look to test these different elements as you make changes to your images.
Testing for SEO:
You can’t really test how improving image SEO will affect overall search rankings, though there are good SEO tools for checking you are following best practices. Make sure you regularly check that all your images have alt tags and observe the rankings of the URLs you actively optimized. You can use the free TinyIMG Chrome extension to monitor if all the images on your page have alt tags.
Testing for page speed:
This is a really simple one. Just enter your page URL into PageSpeed Insights before and after image optimization to see how your page performance improves.
Testing for conversions:
How you test for this will really depend on what your conversions are and what tools you are already using. But the most important point is that you need to clearly define what a conversion is, and understand why you have that metric.
Good conversions to test for include time spent on a page, email, push notification or Messenger marketing sign-ups, items added to a cart or, most frequently, sales. You can use Google Analytics for quantitative metrics or Hotjar for visualizing user behavior. And once you start testing, don’t change the metrics to monitor your results accurately.
Other Shopify image optimization tips to consider
Already checked every box for the steps above? Time to get into more details and consider some additional image optimization tips:
- Optimize your thumbnails. Take file size over quality when it comes to thumbnails. Also, use varied alt text to not duplicate the one on your product image.
- Use decorative images sparingly. While occasional decorative images do serve to arouse shoppers’ interest, they can end up being a dead weight on the website.
- Lazy-load images. Implement the practice of loading images that appear later on the page only when the customer gets to them, improving initial load times. To make things easier, you can use TinyIMG which offers a one-click lazy loading setup.
- Use Shopify image optimization apps. Save yourself some time and effort by allowing the best Shopify image optimization apps to do the job for you. These apps are designed to automatically apply proper practices and automate processes.
- Never choose GIFs for product images. The file size will be immense and reducing it requires completely sacrificing quality.
- Use captions. While not a crucial part of your image optimization strategy, captions will help Google scan the page and easily follow the meaning of your image’s content.
Your images can do more
You spend lots of time and energy creating captivating pictures – so make sure you get the maximum back from that investment in time, resources, and creativity. Following these steps will ensure your images are doing justice to every aspect of your website, from page speed to engagement and conversions.

Frequently asked questions
Yes, Shopify automatically compresses images you upload to your Shopify store. However, the result is not always optimal and you can achieve more with dedicated third-party apps like TinyIMG.
Yes, partly. Shopify compresses and resizes images as well as determines the best possible file format when serving it. For example, if the reader’s browser supports the new-gen WebP image format, Shopify will prioritize it. However, a lot of image optimization success, especially for SEO, depends on the store administrator.
The optimal image file size for Shopify product images is 2048 x 2048 px. They should be square (1:1 aspect ratio) and are recommended to be 300KB or smaller. This ensures your images look high quality and don’t negatively affect website load speed.